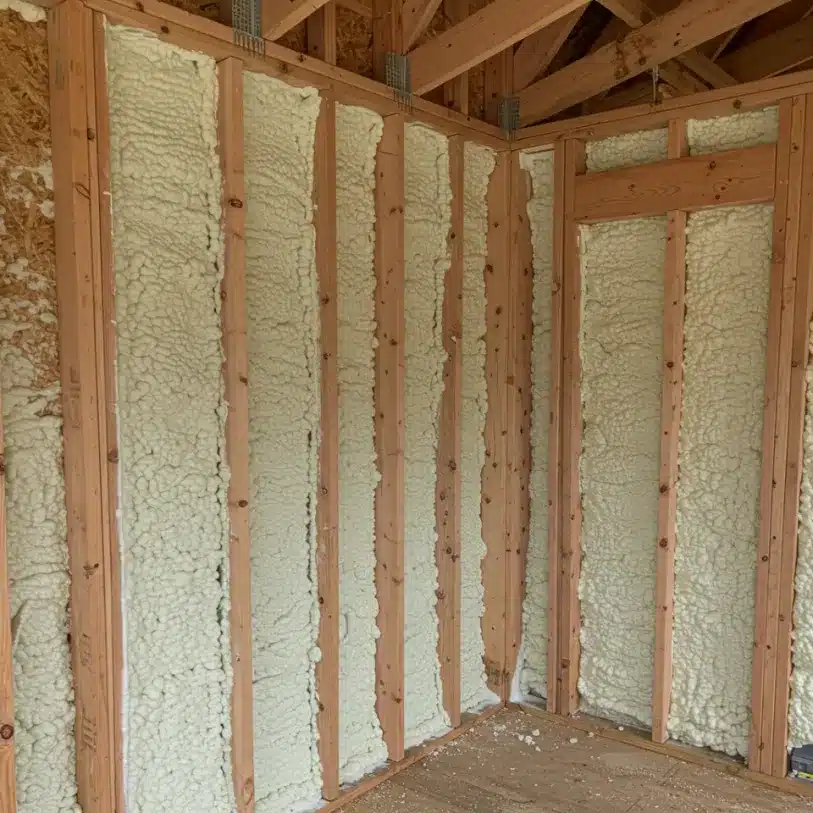
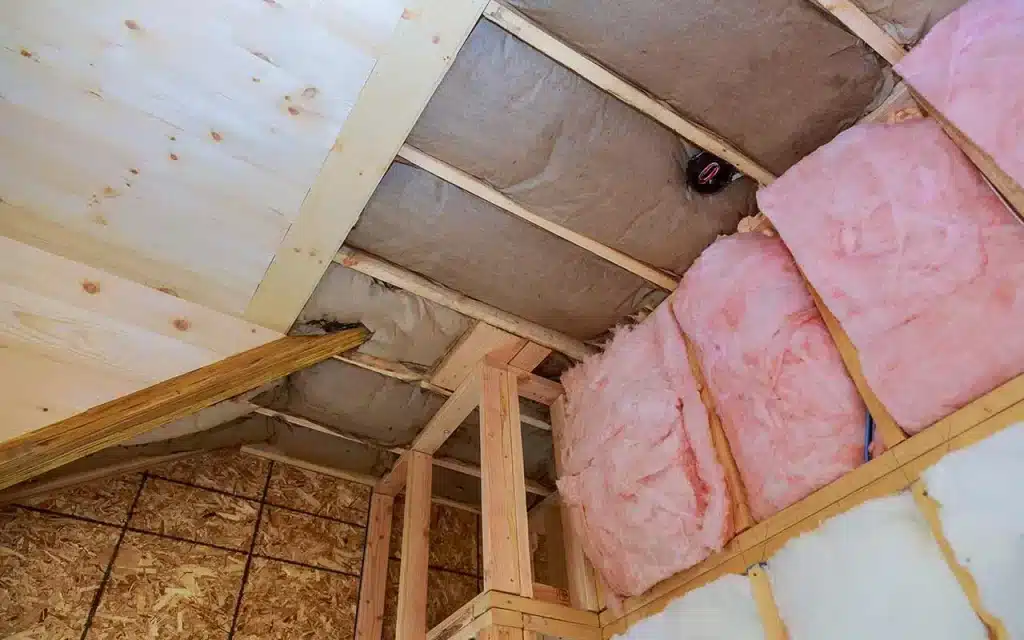
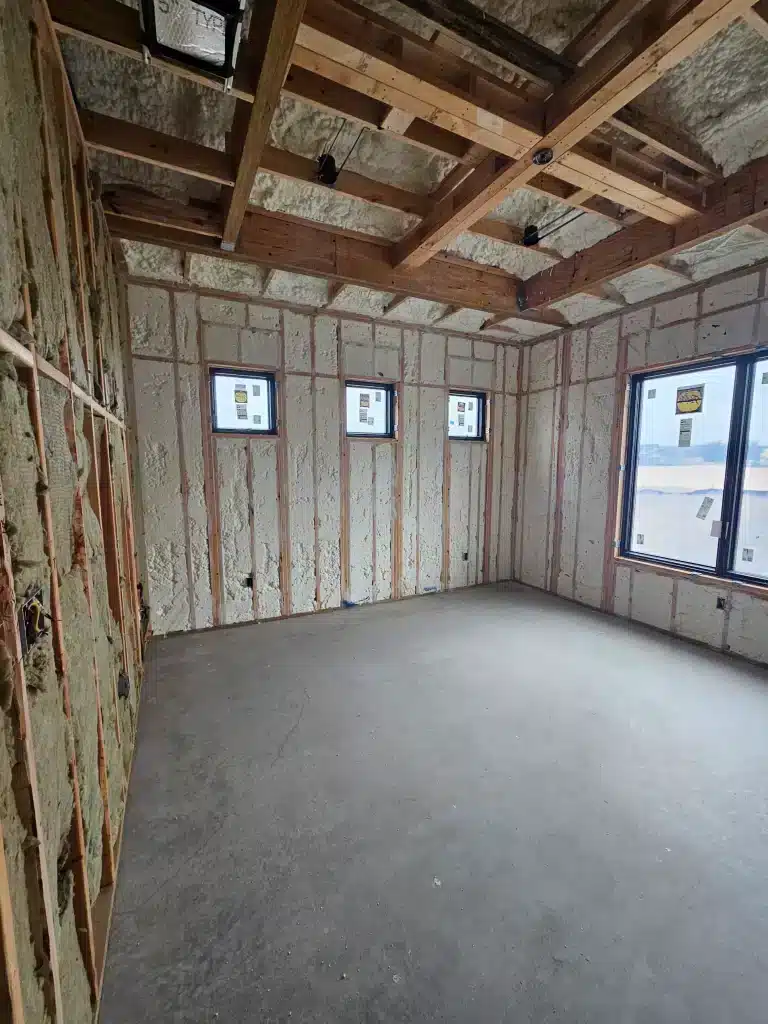
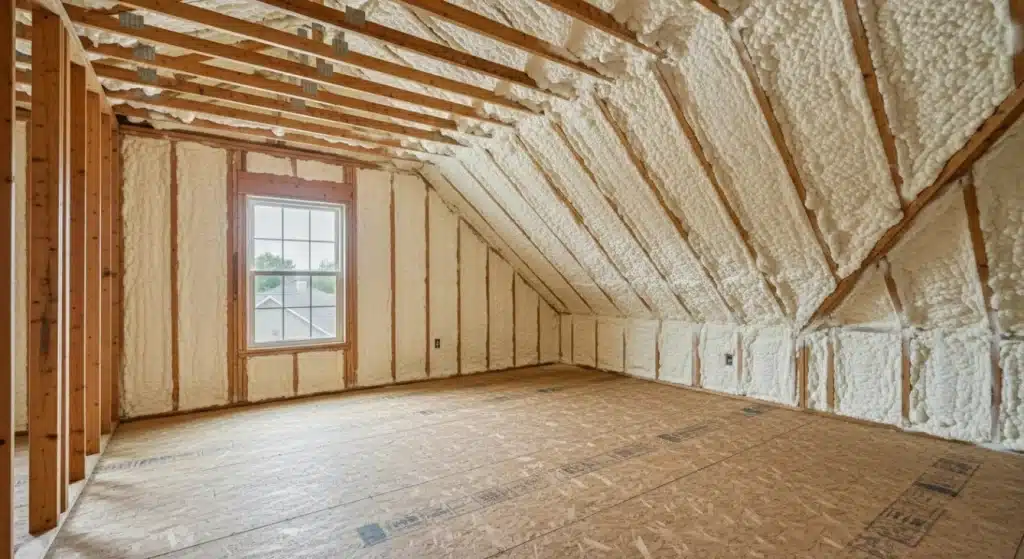
Spray foam insulation seals air leaks and adds a moisture barrier in one application. Start by preparing the space: clear the area, cover floors and vents with plastic sheeting, and wear protective gear like gloves, goggles, and a respirator. Mix the two-part chemicals according to kit instructions, then spray into cavities from bottom to top in even layers no thicker than 2 inches per pass. Allow curing time between coats, sand smooth if needed, and trim excess once dry. Watch for mistakes like uneven application, which leads to gaps, or over-spraying, which wastes material and creates fire hazards. This guide covers the full process with practical details to help complete the job safely, including materials, steps, pitfalls, and factors specific to hot climates like Las Vegas. The U.S. spray foam market grew to $1.2 billion in 2022, per Grand View Research Grand View Research, driven by demand for energy-efficient homes in sunny states. Information here draws from hands-on work with insulation projects across residential sites, ensuring reliable steps based on real-world results.
What Is Spray Foam Insulation
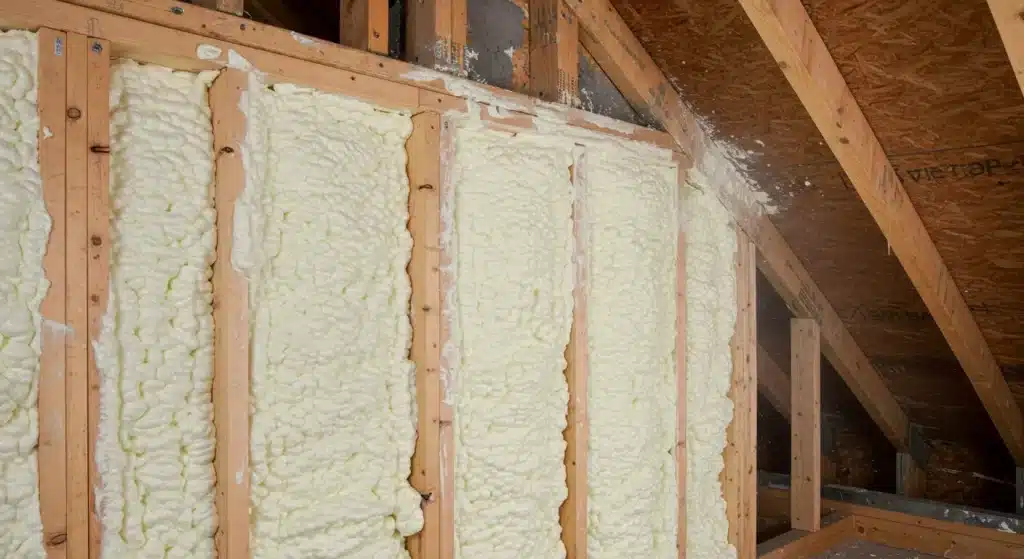
Spray foam comes in open-cell and closed-cell varieties. Open-cell spray foam expands more and feels softer, while closed-cell spray foam creates a denser barrier. Both types expand on contact with air, filling cracks that other insulations miss. In dry desert areas, closed-cell foam holds up better against temperature swings from scorching days to cool nights.
Data from the U.S. Department of Energy U.S. Department of Energy indicates that proper insulation cuts heating and cooling costs by 5% to 30% in homes. For Las Vegas homes, where air conditioning runs year-round, this savings adds up quickly.
Materials and Tools Required
Gather these basics before starting:
- Spray foam kit (choose based on area size; kits cover 200 to 600 square feet)
- Protective clothing: respirator, gloves, goggles, and coveralls
- Plastic sheeting and tape for masking
- Utility knife for trimming
- Sandpaper (80-120 grit) for smoothing
- Extension wand if reaching high spots
- Ladder for attics or tall walls
Kits include isocyanate and resin components that mix at the nozzle. Test the spray gun on scrap material first to check flow.
Bonus Tip: In high-humidity spots, even in arid Las Vegas, add a dehumidifier near the work area to prevent premature curing.
| Foam Type | Density (lb/ft³) | R-Value per Inch | Best For | Cost per Board Foot |
|---|---|---|---|---|
| Open-Cell | 0.5 | 3.5-4 | Soundproofing, interiors | $0.40-$0.60 |
| Closed-Cell | 2.0 | 6.0-7 | Moisture barriers, exteriors | $1.00-$1.50 |
This table compares key specs; select closed-cell for Las Vegas exteriors to handle intense sun exposure.
Step-by-Step Application Process
Follow these steps in order for best results.
Prepare the Surface
Clean walls, attics, or floors of dust and debris. Seal large gaps with caulk. In Las Vegas, check for existing cracks from settling foundations due to clay soils.
Set Up Equipment
Assemble the spray gun and connect hoses. Prime the system by spraying into a waste bucket until chemicals flow evenly. Work in temperatures between 60°F and 80°F; avoid direct sun in desert heat.
Apply the Foam
Start at the lowest point. Hold the nozzle 12 inches from the surface and spray in a sweeping motion. Build layers gradually to avoid drips. For attics, focus on rafters first.
Bonus Tip: Pause every 10 minutes to check expansion; over-pressurized kits can clog, so release pressure as needed.
Cure and Finish
Let foam cure for 1-2 hours per layer. Trim protrusions with a knife once firm. Sand rough spots for a clean look.
In hot climates, full curing takes longer—up to 24 hours—due to rapid evaporation.
Common Mistakes and How to Avoid Them
Uneven spraying leaves voids that reduce effectiveness. Practice on cardboard to get a steady hand.
Over-expansion happens if you spray too much at once; stick to thin passes and wait 30 minutes between them.
Skipping protection exposes skin to harsh chemicals, causing irritation. Always use full gear and ventilate the space.
Ignoring climate specifics leads to poor performance. A study by the Oak Ridge National Laboratory Oak Ridge National Laboratory found that foam degrades faster in extreme heat without UV protection, common in Southwest regions.
Bonus Tip: Measure moisture levels before starting; levels above 15% in wood can trap water inside foam, leading to mold in rare humid spells.
Things to Consider Before Making a Decision
Assess your skill level—DIY works for small areas, but large jobs need precision. Calculate total square footage and buy 20% extra material for waste.
Check local building codes in Clark County; some require permits for insulation work over certain thicknesses.
Factor in costs: kits run $300 to $1,000, plus tools. Energy savings offset this over time, but upfront investment matters for budgets.
Evaluate health risks from chemicals; pregnant individuals or those with respiratory issues should avoid exposure.
Climate plays a role—in Las Vegas, prioritize foams that resist cracking from 100°F+ summers.
Common Questions
How long does spray foam last?
Expect 20-50 years with proper installation, depending on exposure.
Can spray foam go over existing insulation?
Yes, but remove old material if it’s moldy or compressed.
What if the foam doesn’t expand right?
Check temperature; cold chemicals mix poorly.
Frequently Asked Questions
Is spray foam safe for DIY use?
Yes, with proper gear and ventilation. Kits include safety data sheets; follow them to minimize risks like chemical burns.
How much area does one kit cover?
Standard kits handle 400-600 square feet at 3-inch thickness. Measure your space and adjust for waste.
Does spray foam block pests?
Closed-cell types deter insects and rodents by creating a sealed barrier. Open-cell may need additional pest control.
Can I use it in a garage?
Sure, but add fire-retardant coatings if near heat sources, per fire codes in Nevada.
What temperature range works best?
Apply between 50°F and 100°F. In Las Vegas winters, use heaters if needed during cooler months.
Key Takeaways
Master the steps: prepare, spray evenly, cure fully, and avoid pitfalls like rushing coats. Weigh skills, costs, and climate needs before starting. Tailor choices to local conditions for lasting results.
Evaluate personal setup, budget, and goals to decide if DIY fits or if pros handle it better.
Ready to Insulate Your Home
Contact Supreme Spray Foam LV for guidance on tough projects. Reach out at (702) 904-9895 or [email protected] to discuss options suited to your space. Take the next step toward better efficiency today.
Sources
- U.S. Department of Energy – Government resource on home insulation types and energy savings benefits.
- Oak Ridge National Laboratory – Research on building materials durability, including foam performance in various climates.
- Grand View Research – Market analysis report detailing growth and applications of spray foam in the U.S.

